Usually, Skype only allows you to log in with one account on one computer at the same. But what if you want to log in with multiple skype accounts on one PC at the same time?
When you have multiple Skype accounts, running all of them at the same time might be a tough challenge.
This method allows you to run multiple Skype accounts at the same time and on one computer as easy as it can only be. We are sure you’ll like it no matter whether you share your computer with other Skype users or use multiple Skype accounts yourself.
Note: For modern windows 8 or later version, first you will have to install Skype for windows desktop. You can download it from following link : http://www.skype.com/en/download-skype/skype-for-computer/
Method 1: Every time you want to login to multiple skype accounts you’ll have to follow this steps –
Step 1. From the Windows taskbar, click Start > Run (or press the Windows The Windows key![]() and R keys on your keyboard at the same time).
and R keys on your keyboard at the same time).
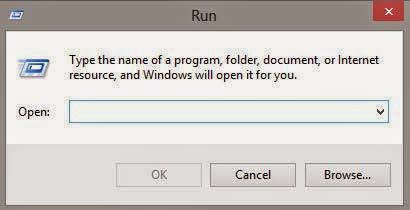
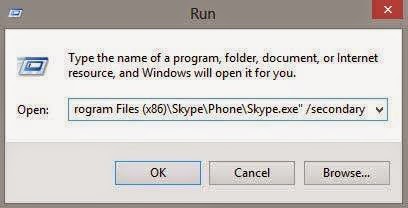
Step 2. In the Run window, type the following command (including the quotes) and press OK:
For 32-bit operating systems:
“C:\Program Files\Skype\Phone\Skype.exe” /secondary
For 64-bit operating systems:
“C:\Program Files (x86)\Skype\Phone\Skype.exe” /secondary
If the above solution fails, you can try another option:
Method 2: By this method you can start a new instance of Skype every time you double-click the new shortcut.
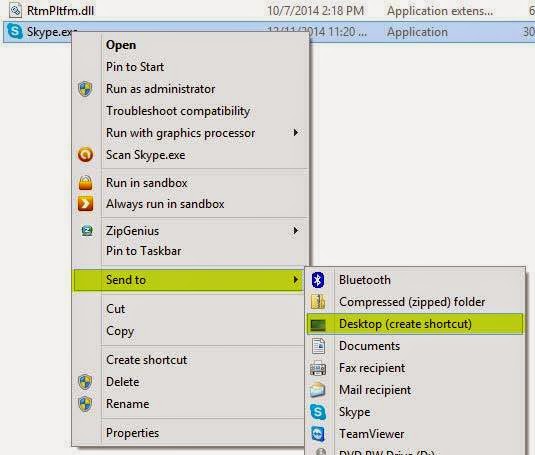
Step 1. Find the Skype.exe file in C:\Program Files\Skype\Phone\ if you’re running a 32-bit operating system.
If you’re running 64-bit operating system, you can find the file in C:\Program Files (x86)\Skype\Phone\.

Step 2. Right-click on Skype.exe and select Send to > Desktop (create shortcut).
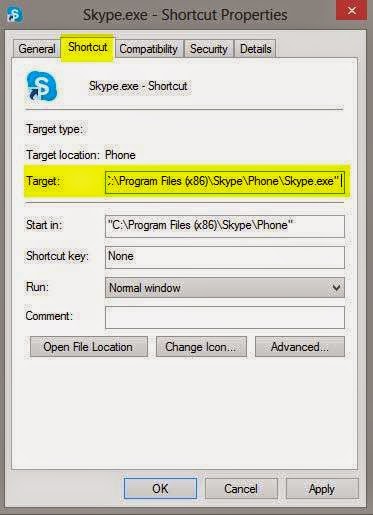
Step 3. Locate the shortcut on your desktop, then right-click it and select Properties.
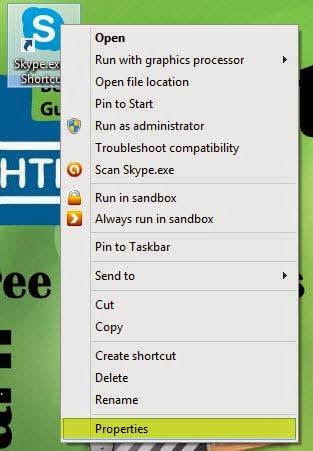
Step 4. In the Target field of the Shortcut tab, add /secondary to the end of the path. The Target field should now be “C:\Program Files\Skype\Phone\Skype.exe” /secondary.
Step 5. Click on Apply than OK.
You can now start a new instance of Skype every time you double-click the new shortcut.
Credits: Special thanks to letsdnd.com for making this very informative guide.